How to Record Acoustic Piano – The Beginners Guide

Acoustic pianos can provide that classic sound that most artists yearn for on their albums. Pianos are versatile instruments. Suppose you're a musician, songwriter, or just a hobbyist. In that case, chances are you already have a piano in your home that you can use for recording. And with the right know-how, recording acoustic piano can be a relatively simple process. In this post, we'll go over the basics of how to record an acoustic piano. We'll cover everything from choosing the right microphone to setting up your recording space. By the end of this guide, you'll have all the information you need to start recording your piano tracks at home.
The Process
Decide on the space you want to record in.
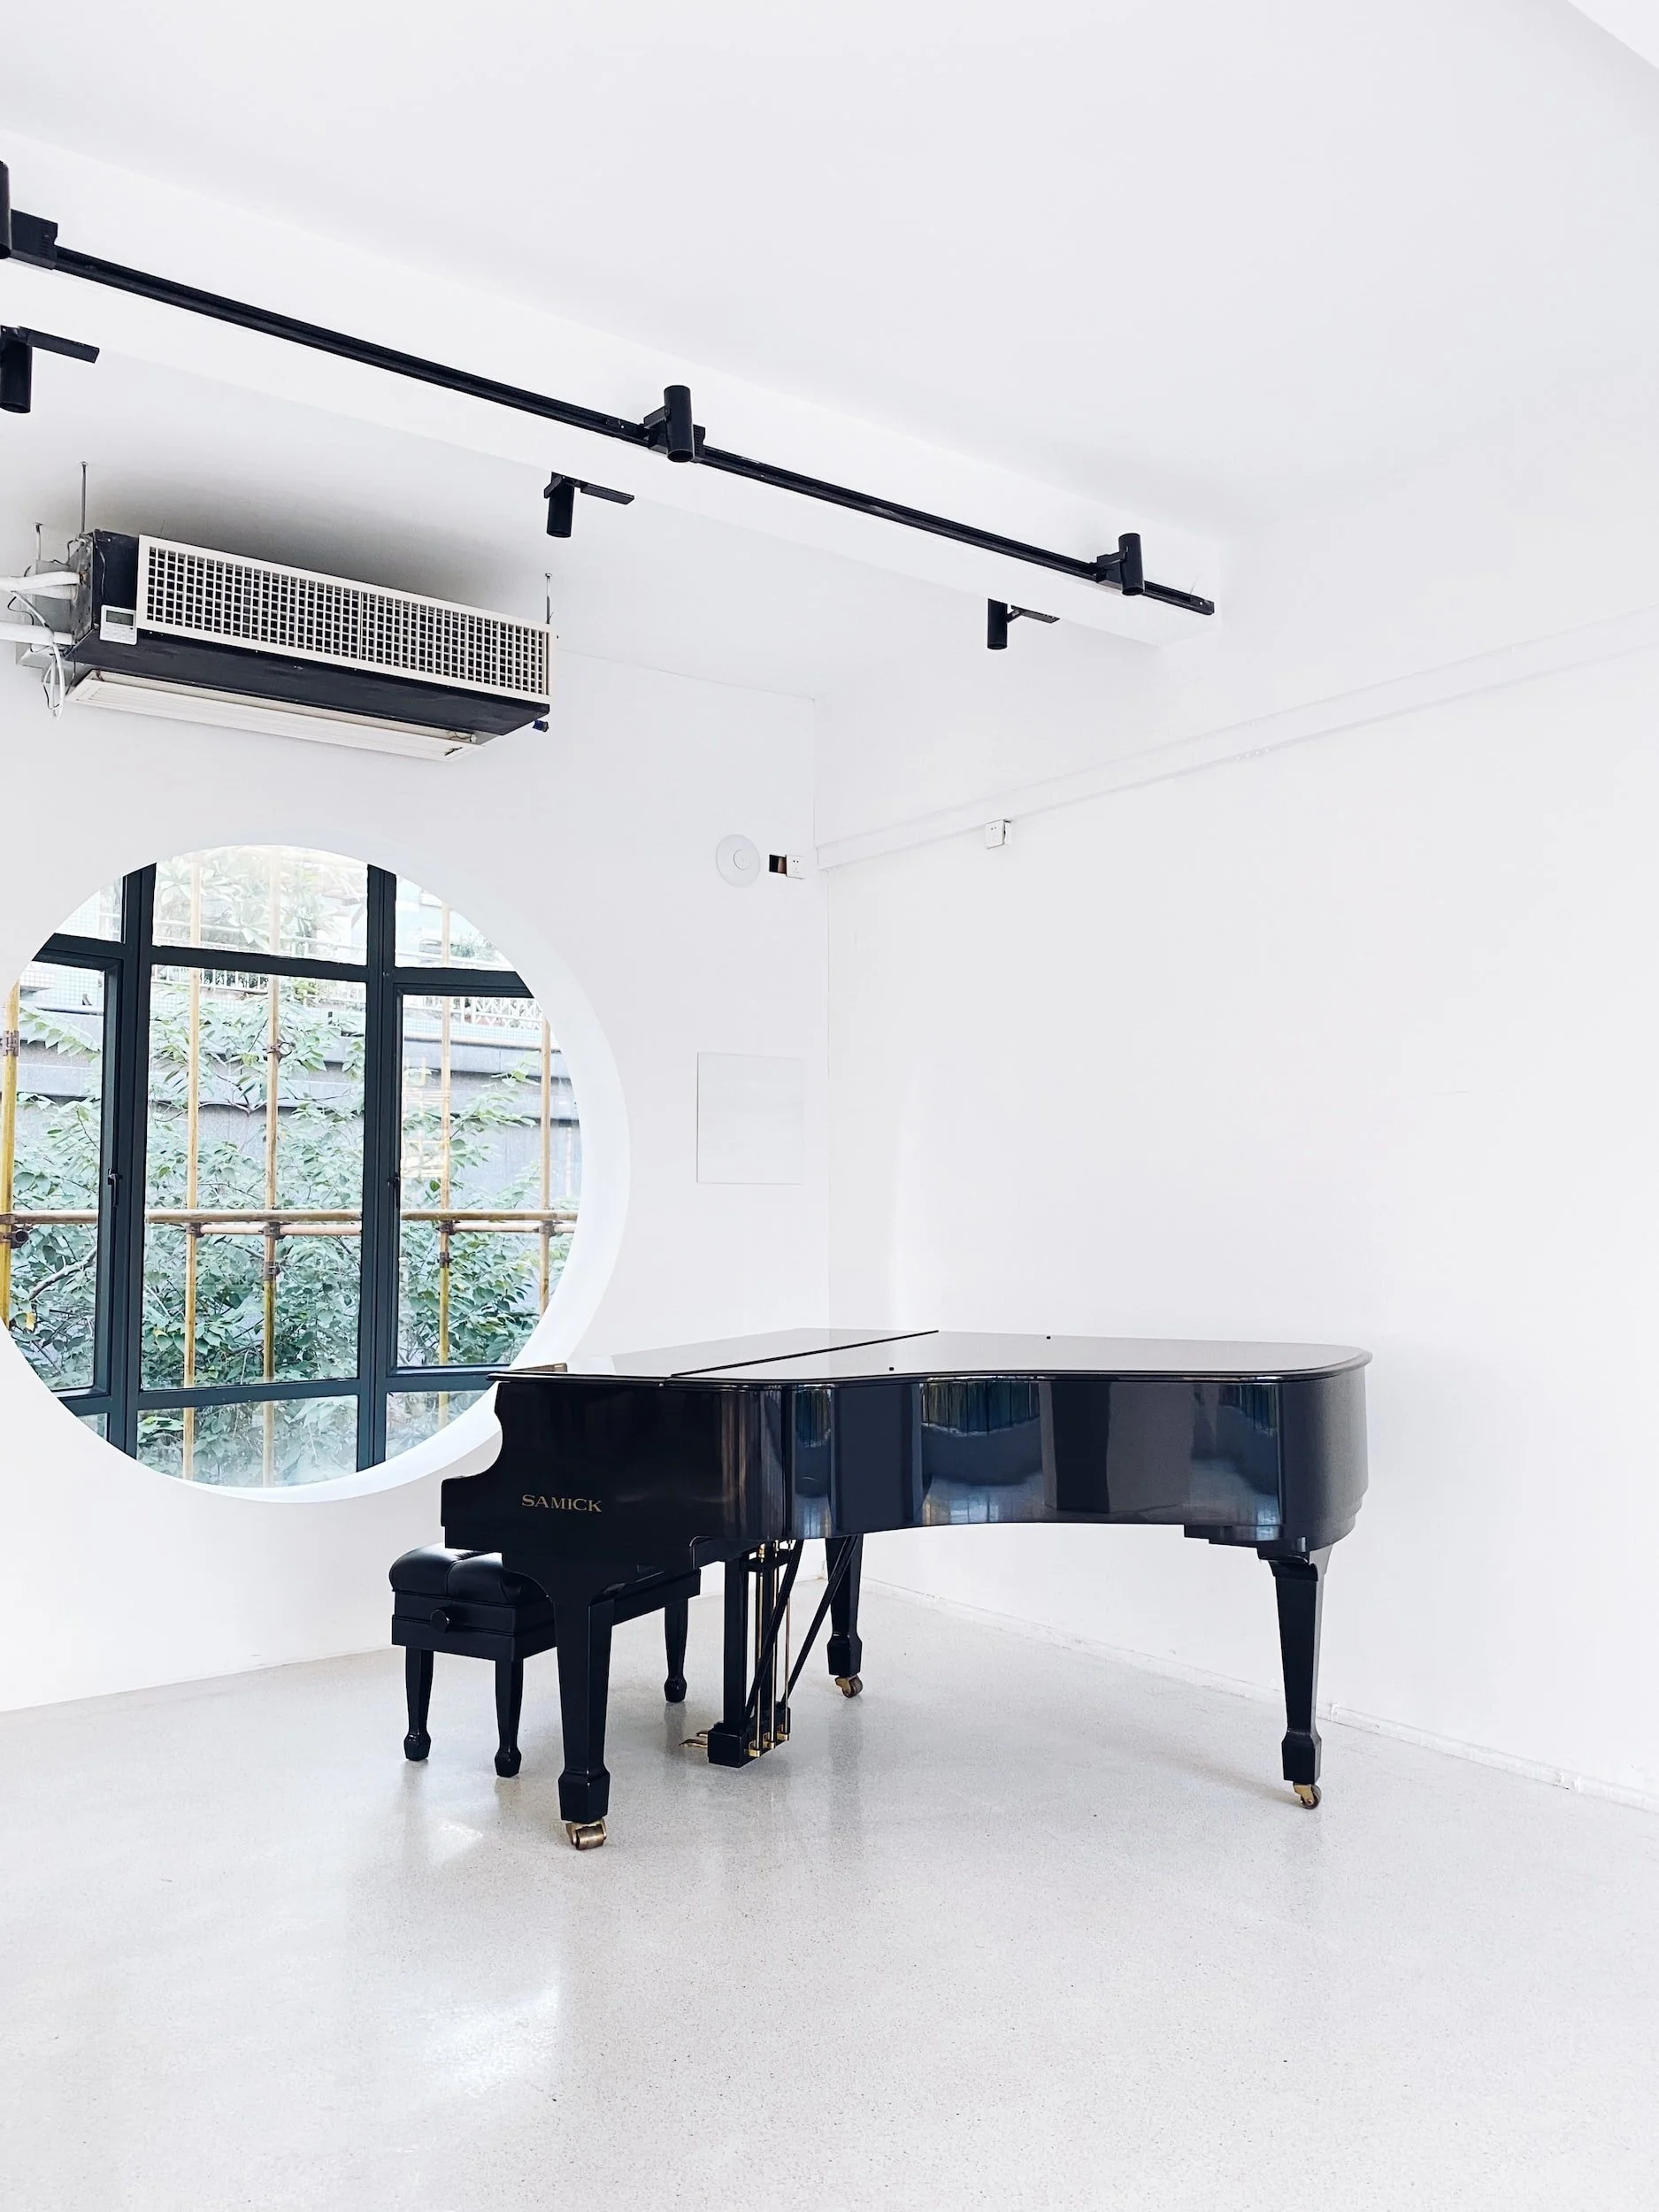
Pianos are big instruments. The interaction of the musician, the instrument, and the room they reside in significantly impacts the music's overall sound and tone. If you are planning on moving your piano to a specific space to do your recording, move it before you get the piano tuned. A piano's tuning is delicate, and any jostling can quickly throw it out of tune.
We must set up the recording space to sound best for your music. Some audio engineers say to avoid a room with lots of flat surfaces because they can create unwanted reflections. I would say that it depends on the music. If you were playing classical music, you might want to have a more blended sound than rock music which you would want more of the direct sound of the instrument. The piano's location should be the center of the room as best as possible. This central location provides the most optimal sound. Being away from the walls gives your recording a true sense of space. It avoids certain frequency phase cancelations when the instrument is too close to a wall.
But if you can't move the piano due to several different reasons, then there are some things you can do to help tame the sound. You can put blankets around the floor and side walls to help tame some reflections. Adding a full bookcase directly across from the piano in the room will also help break up those long acoustical reflections. You would want to randomly pull out a few books as a diffuser for the sound.
2. Ensure Your Piano is in Tune!
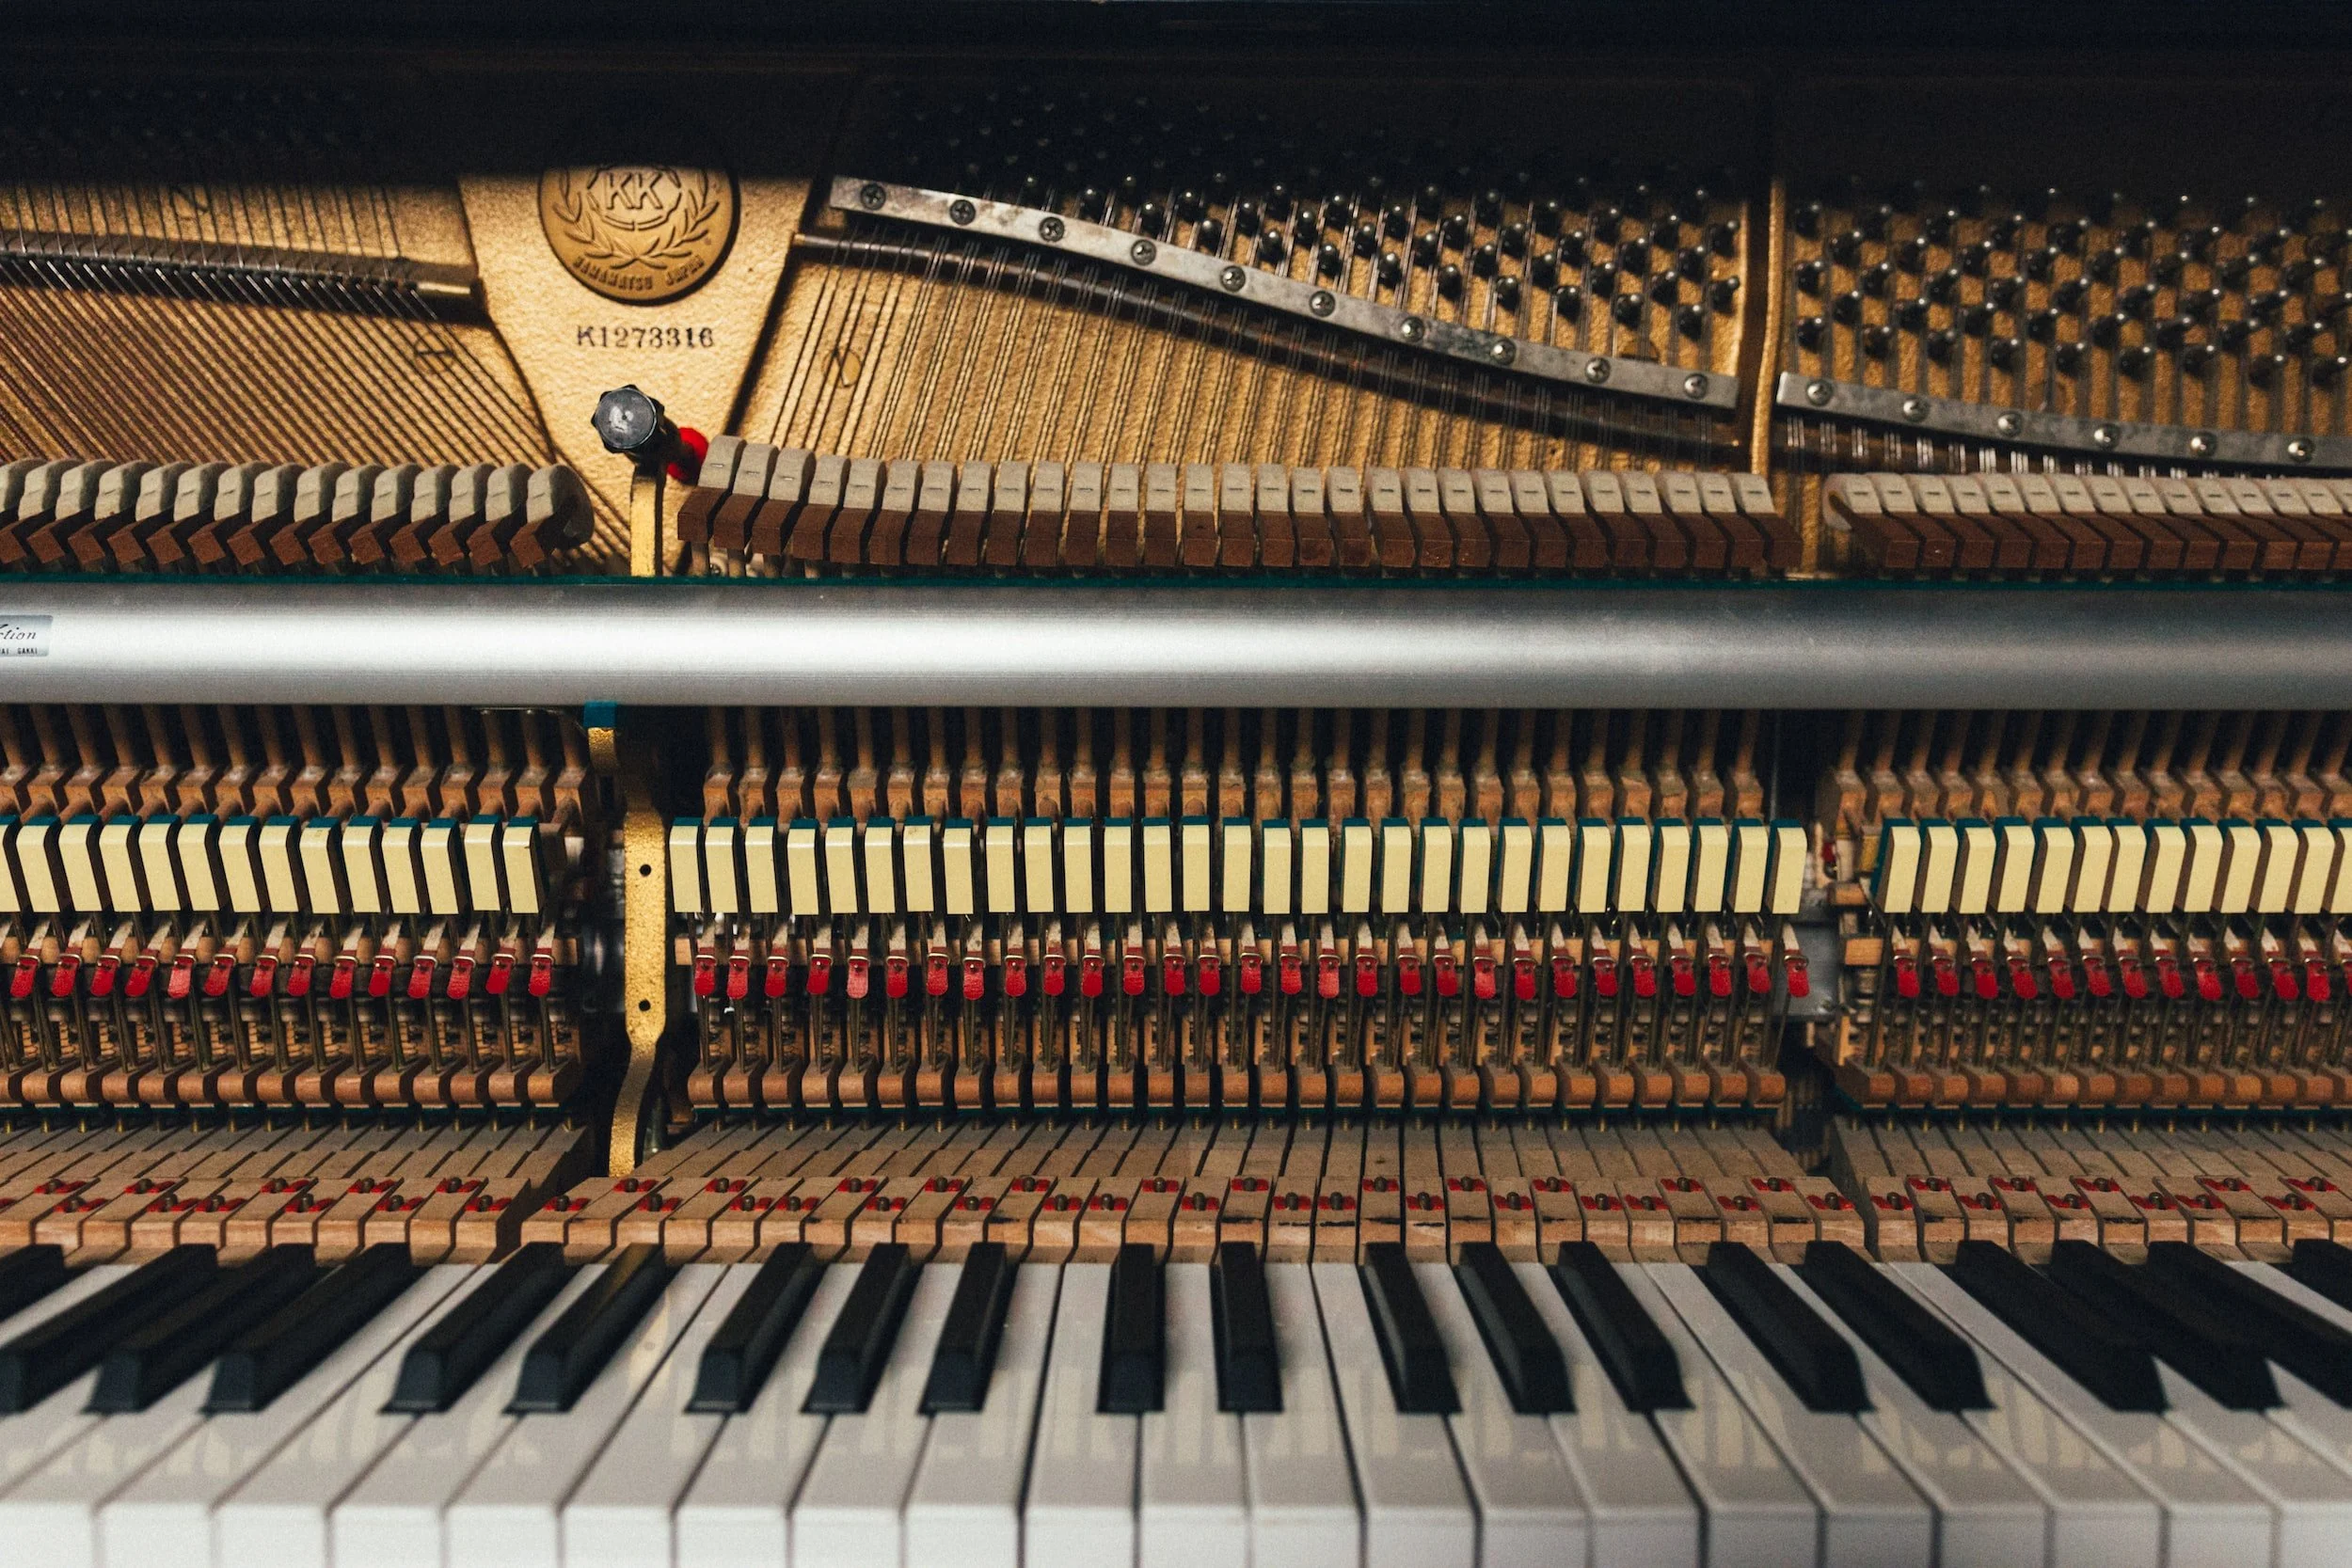
Before you start recording, you must tune your piano! Nothing ruins a good recording quicker than an out-of-tune piano. Pianos are essentially enormous open-string guitars. Pianos have strings attached to a bridge, which is attached to a soundboard. Instead of a pick like a guitar, pianos hammer the string to produce sound. If you look at a piano's strings, the lower notes have just one strung wound in copper. The higher the keyboard you go, the more strings per note, such as C6 having three strings per key. A piano has 88 keys, but depending on the model, it can have up to 230 strings! Why though?

In short, the keys that have three strings don't need to all tune to a central frequency. A piano tuner might tune String 1 down -.5 cents, string 2 on the center frequency, and string 3 is about .5 cents up. This slightly out-of-tuning of the strings produces beating frequencies between all three strings which contributes to a richer and more complex tone. Oh, and pianos are not tuned from the bottom up. Most piano tuners start in the middle and work to the bottom and top. If you tune the piano from the bottom up and try to make each octave the same, you run into a problem where your upper octaves will be out of tune from the original. The math doesn't favor JUST tuning for musicianship. Most piano tuners use equal temperament, electing to spread the error over all the keys rather than at the top or bottom end of the keyboard. (For more, check out this link from Yamaha Music)
So in small conclusion, a lot can go wrong when trying to tune the piano on your own: hire a piano tuner.
3. Choose Your Microphones.
Single vs. Multiple Microphone Set Ups

Oh, there are two main ways to record a piano: a single microphone or multiple microphones. Pianos sometimes sound best when they are interacting with the room. Suppose you record a piano inside of a room. In that case, you are capturing not just the direct sound of the piano but also the room acoustics. The interaction of the piano and the room acoustics can give you some amazingly complex sounds. However, there is a limit to how much you can do in post-production with this type of recording. Most of the time, if you are adding artificial reverb, this type of recording with a single microphone might not be ideal. But, if you are recording classical music, a single microphone recording might give the liveliness that you're album needs.
To do a single mic recording, you need a large diaphragm microphone in an omnidirectional pattern. Ideally, you want to choose a microphone with flat frequency response. When positioning the microphone, you must be mindful of how close the microphone is to the piano. If it is too close to the piano, you will not hear the room, and if it is too far away from the piano, you will not hear the clarity of the piano. Whenever I do recordings like this, I have the musician play 4 to 8 bars of music, and then I check the recording. Four bars of music do not fatigue the musician and allow you to sense if the microphone's distance to the piano is correct. Sometimes, the difference between one inch closer or further away can significantly impact the tone and quality of the recording. So this step in a single microphone recording is crucial. Once you get the recording, you can not fix the ratio of direct sound to reverb in post-production. So you have to get it right before you start recording takes.
Multi-Microphone
Pianos are like guitars: The strings produce the music, no, it's, but the richness and character of the sound come from the soundboard and body of the instrument. We have all seen pictures of a grand piano opened up to full stick with two or three gorgeous microphones facing the strings. But is that the best type of sound for your recording?
Putting a microphone on the strings of a piano, whether a grand piano or an upright piano, will give you a metallic sound. Because the strings are metal wounds, the microphones will be pointed directly at the strings, thus giving you that timbre. This sound works great for rock and pop music because it allows the piano to cut through some other midrange instruments in the mix. But if you're looking for a full sound, micing the soundboard under a grand piano or behind the piano in an upright might be best. The soundboard is where the sympathetic vibrations of the strings interact with the wood and produce those unique piano tones. Making the soundboard will also give you a more balanced tone.
Not all wood is the same; thus, not all piano soundboards are the same. Depending where you are on the soundboard could produce a vastly different tone from one inch to the other. So, often I will put my ear one inch away from the piano soundboard and have the musician play 4 to 8 measures so I can then hear what might be the best place for a microphone. Your ears are the best microphones in the world. Trust your ears, and when you think it sounds good, that's where you should put the microphone.
4. Mic Positions
I didn't give you much to work with in those last paragraphs. Honestly, a lot of what we do in music recording is trial and error because we constantly have to change variables in our recording setup. We move and put microphones away; we have new musicians holding new instruments in different climates, temperatures, and humidities. All these factors affect how sound is captured in a microphone and recorded. So, I will give you general guidelines and approximations of where to set up mics, but know that you have to adjust things given your particular setup, instrument, and musician.
Above the piano
The most common mic setup is two large diaphragm microphones in a cardioid pattern facing the strings. The mics are set up about a foot away from the strings and about 3 feet apart. The top mic is approximately 12" from the hammers facing down but slightly towards the piano's middle. The second mic is at the bass strings, again 3 feet away from the other mic, pointed down and slightly facing up towards the center of the piano (This all complies with the 3:1 rule). This microphone setup will get you a very close and detailed sound. It will require some mixing in post-production as the bass microphone can tend to overpower the top-end mic.


Below the piano
The easiest way to mic the bottom of the piano is to use a stereo pair right about the middle of the soundboard. A stereo mic pair will capture both the highs and lows of the piano equally and have minimal mixing in post-production. You can use an XY pair, with one facing the foot and one facing the curve of the piano. The XY stereo mic technique will give you a clear center image of the piano and focus more on the mid frequencies. The second pair would be ORTF and requires a bit of precision but gets you a wider stereo image. The ORTF stereo mic technique should be in the center, with one facing the highs and the other facing the lows.
A mixture of both
Engineers mix both the top and stereo mics on the bottom is not uncommon to get a unique and blended sound. However, there can be some issues with phase between all the mics, so you must use caution when mixing. Phase issues occur when you combine two microphones, one placed farther than the first mic. Because sound is slower than light, it takes time for the sound to travel between the two mics, so one mic will pick up the sound a fraction of a second later. That fraction of a second can interfere and produce a very tinny or hollow sound. It's common to "flip the phase" using a button that looks like this "ø" or move the waveform in a DAW. Either way, use your ears and blend the mics to get the sound you want.
Now, what about that upright piano?
The same rules apply to an upright piano. If you are going to mic the strings, you want the microphones to be about 3 feet apart and about 1 foot above the strings. The soundboard is on the back of the piano instead of underneath, as in a grand piano. You can still use a stereo pair facing the middle of the soundboard to get a pleasant rich sound.
Conclusion
Now that we've gone over all the basics of recording acoustic piano, it's time for you to put these techniques into practice! Just remember, take your time setting up everything properly beforehand so that it doesn't have to be complicated when recording an acoustic piano. Anyone can do it with a bit of know-how and some basic equipment! Just remember to choose an appropriate microphone (or microphones), set up your recording environment, and tune your piano before you start playing! With these simple tips in mind, you'll be well on your way to making great recordings of your performances.
Dr. Mike Testa