Set up your Dorm Room to Produce Music: 9 Things to Consider.
Producing music in your dorm room can be a great way to relieve stress and unwind after a long day of classes. Not to mention, it can also be a lot of fun! To make the most of your music production experience, however, you will need to set up your room correctly. This blog post will discuss the best way to set up your dorm room to produce your music. We will cover everything from software requirements to headphone suggestions. Let's get started!
1. Computer/Laptop

A good computer is essential for music production because you need a fast machine with a lot of RAM (32 GB preferably). A good machine will give you a more extensive track selection and increase your creativity. Additionally, I recommend 1 TB of Hard Drive space to store all of your music files.
However, if you are on a budget, you can get away with an 8th generation i5 processor and 8GB of RAM. This configuration will still give you plenty of power to create music. As for storage, 500GB should be plenty.
2. Microphones

A microphone converts acoustic energy into electrical energy. You should allocate most of your budget for recording music to purchasing a good microphone. A person might have excellent speakers, but the recording quality will be low if the microphone is not good. When selecting a microphone, look at the frequency response chart. You want a microphone that can capture 20Hz to 20,000Hz.
3. Audio Interfaces

You'll need an audio interface to connect your microphone to your computer.
I'd recommend the Focusrite Scarlett 2i2 audio interface if you're just starting. It has a couple of XLR inputs, perfect for simultaneously recording vocals and instruments. Plus, it's an excellent value for the price.
4. Software

Choose software that best suits your needs. Garageband is great for beginners because it is easy to use and has various sounds and instruments to choose from. If you want more control over your recording, you can try Logic, the professional version of Garageband. There are also other software options like Reaper that have a "try before you buy" policy, so you can test out the features before making a purchase. Once you've chosen your software, start recording!
5. Headphones

Headphones are essential for quality control and compatibility when it comes to music. You want to make sure that your music sounds good on a wide range of devices, not just on headphones. This is why it's crucial to purchase a pair of headphones that have a good range, such as 40Hz to 20,000Hz. Otherwise, you might not be able to get an accurate picture of how your music sounds. When you publish your music, the mix might not be compatible with specific devices. I personally like the Beyerdynamic DT 770s.
6. Acoustic Treatments
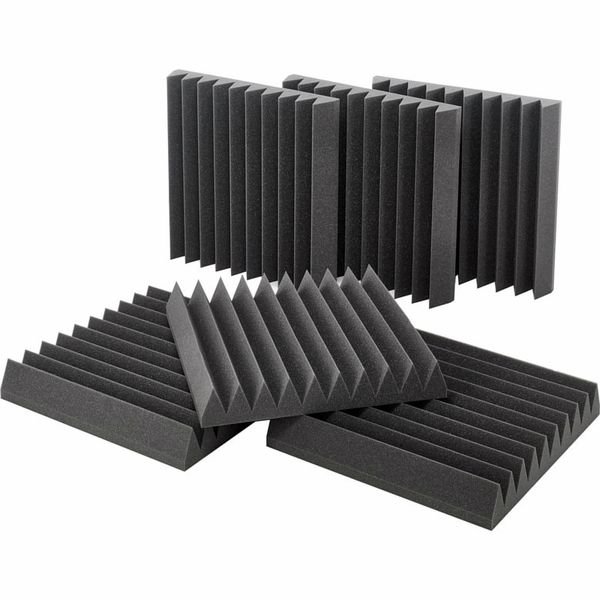
There are a variety of acoustic treatments available, from absorbent panels to diffusers, and choosing the right option will depend on the specific needs of your room. However, even a small amount of acoustic treatment can make a big difference in the sound quality of your recordings. So if you're serious about getting a great sound, it's worth investing in acoustic treatment for your home studio.
Some common forms of acoustic treatment include sound panels, bass traps, and diffusers. Sound panels effectively reduce reflections and improve your recordings' clarity. Bass traps help to control low-frequency reflections, which can often muffle or distort sounds. Diffusers scatter sound waves, preventing them from bouncing off the walls and creating echoes. The rules of thumb of where to put the acoustic treatment are as follows:
A. Put bass traps in the corners of your room to absorb the low frequencies.
B. Put panels and diffusers on parallel walls to diffuse the sound waves.
No matter what type of acoustic treatment you choose, it's essential to take the time to install it properly. Improper installation can make your recordings worse, so be sure to follow the manufacturer's instructions carefully. Also, ensure you follow your school's bylaws regarding how you can hang things on your wall. You might need to make brackets or use non-permanent tape to hang the treatments.
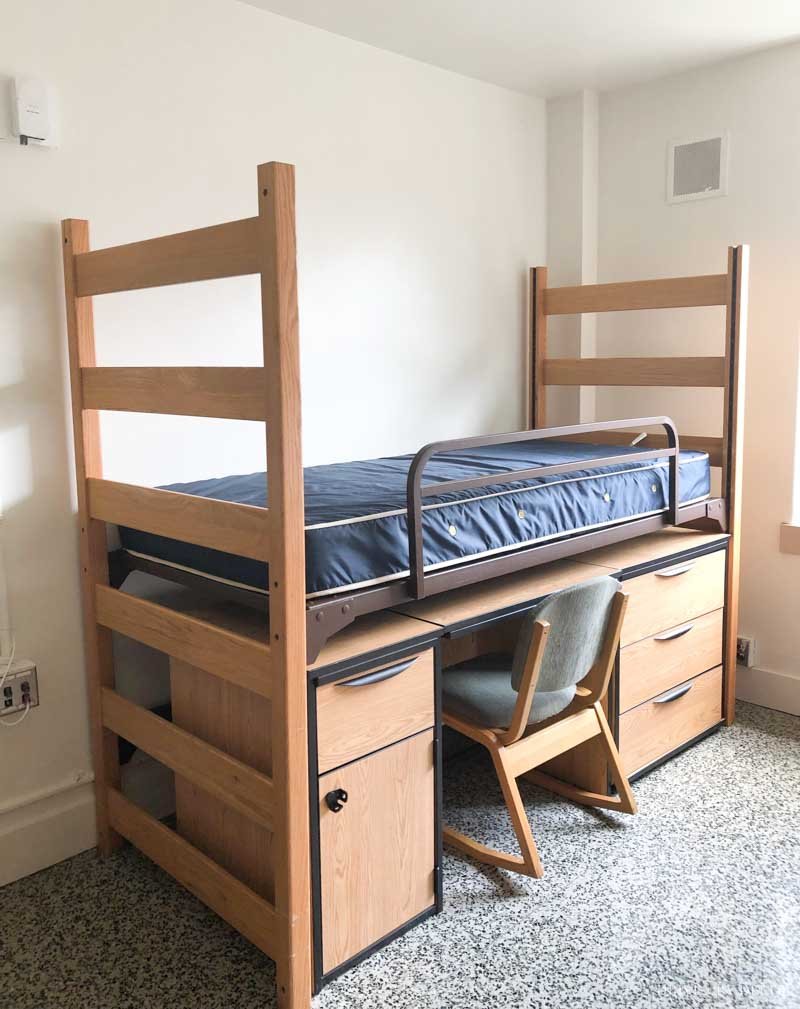
7. A good chair.

Most people forget to consider their comfort while working. Having a comfortable place to sit or stand while you work is important, especially if you are working long hours. Make sure your workspace is at a level that is comfortable for you to reach and use. If necessary, adjust your chair or desk to make it more comfortable. Ensure your monitor and speakers are at eye level so you don't have to strain your neck to see them. These simple steps can help reduce the risk of discomfort and injury while working. Gaming chairs work great and are relatively inexpensive.
8. Set your room up to give off good vibes

One way to create good vibes in your dorm room is to decorate it with your favorite color. The color you choose can help to set the tone for the space and make it feel more inviting for creativity. If you're looking for a calming, relaxing vibe, try using shades of blue or green. For a more energetic vibe, try brighter colors like yellow or pink. You can also use color to create a sense of balance and harmony in your room. For example, if you have a lot of bright, bold patterns, you might want to use a neutral color like white or gray to help tone things down. Another way to create good vibes in your dorm room is to fill it with things that make you feel safe and comfortable. This could include photos of friends and family, your favorite stuffed animal, or even just a cozy blanket. The goal is to surround yourself with things that make you feel happy and calm, which will allow for greater creativity. When your dorm room feels like a haven, relaxing and enjoying your time there will be easier.
9. Don't do your homework in your dorm room.

I also suggest not doing your homework in your dorm room. (Wait, what did he say?!) Your dorm room should be a safe space; your new home. Separating work from home is essential. Do your homework in the library or a coffee shop. Keep your dorm room for relaxation and creativity.
Producing music in your dorm room can be a great way to relieve stress and unwind after a long day of classes. Not to mention, it can also be a lot of fun! To make the most of your music production experience, however, you will need to set up your room correctly. In this blog post, we discussed the best way to set up your dorm room so you can produce music like a pro. We have covered everything from software requirements to headphone suggestions. So what are you waiting for? Get started setting up your room today and tag @theaudiopod in some pictures of your finished product!
Dr. Mike Testa