Mic-ing Auxiliary Percussion: Demystifying the Triangle and Cowbell

Auxiliary percussion, or aux percussion, includes a wide range of instruments that add texture, color, and unique rhythmic elements to music. Unlike standard drum kits with bass drums, snare drums, tom-toms, and cymbals, auxiliary percussion consists of a diverse array of instruments:
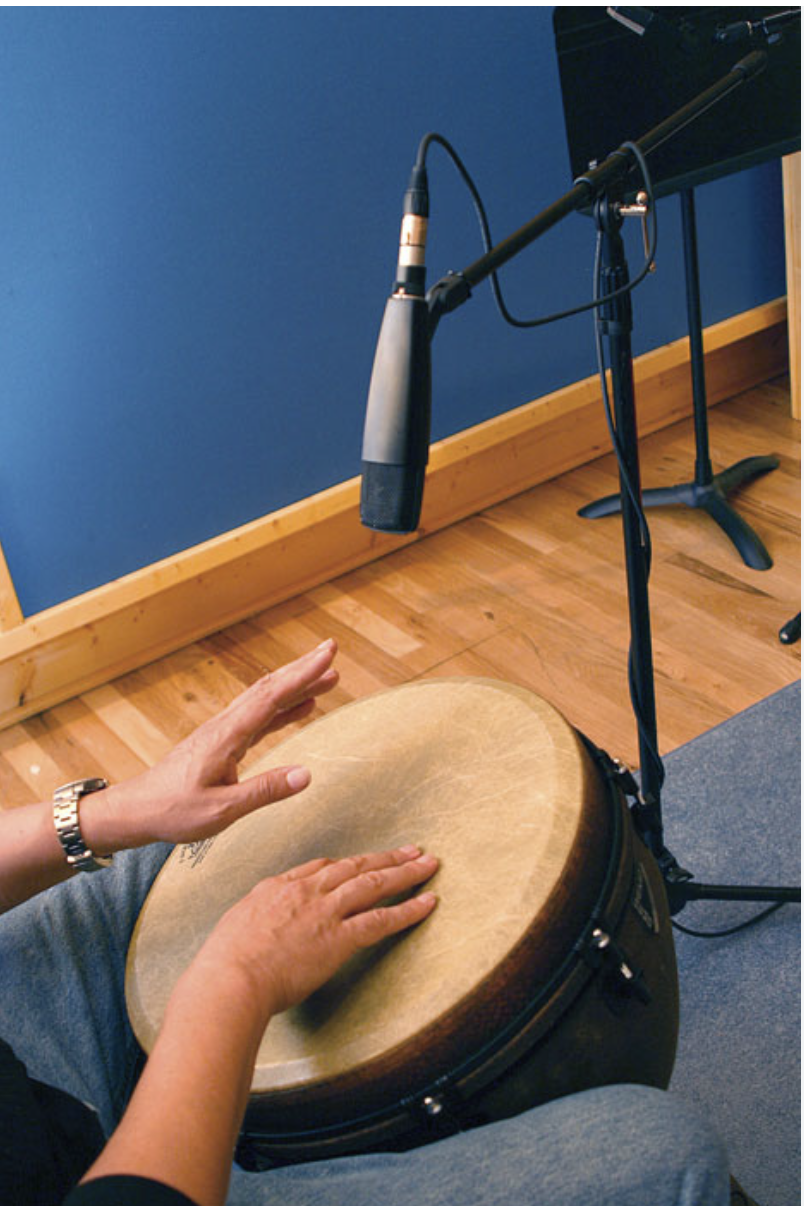
Hand Percussion: Congas, bongos, djembe, cajón
Shakers and Rattles: Maracas, shekere, egg shakers
Mallet Percussion: Xylophone, marimba, vibraphone
Small Percussion: Triangle, tambourine, castanets, cowbell
Effect Percussion: Rainstick, wind chimes, vibraslap, guiro
Each instrument has a distinctive sound and character, making auxiliary percussion essential in many musical genres.
Common Types of Auxiliary Percussion in Different Genres
Various musical genres use different types of auxiliary percussion to achieve their unique soundscapes:
Latin Music:
Congas and Bongos: Essential for salsa, mambo, and Latin jazz.
Timbales: Add sharp, cutting tones often featured in Latin orchestras.
Maracas and Guiro: Provide rhythmic drive and texture.
Rock and Pop:
Tambourine: Common in rock and pop for accentuating backbeats.
Shakers: Add rhythmic texture in quieter passages.
Cowbell: Famous in classic rock, adding a distinctive rhythmic element.
Jazz:
Vibraphone and Marimba: Used for melodic and harmonic contributions.
Congas and Bongos: For Latin jazz influences.
Triangles and Chimes: Provide subtle accents.
World Music:
Djembe: Prominent in African music for deep, resonant tones.
Tabla: Central to Indian classical music.
Rainstick and Wind Chimes: Used for atmospheric effects.
Orchestral and Film Music:
Mallet Percussion: Xylophone, marimba, and vibraphone add melodic and harmonic layers.
Small Percussion Instruments: Castanets, tambourine, and triangle for specific effects.
General Mic Setups: Mono vs. Stereo
Choosing between mono and stereo setups when mic-ing auxiliary percussion depends on the instrument, the desired sound, and the recording context.
Mono Mic Setups
Mono setups are straightforward and often sufficient for smaller instruments or when isolating a specific sound source. A single microphone can capture the essence of instruments like tambourines, cowbells, or shakers. Dynamic microphones are commonly used for their durability and ability to handle high SPL (Sound Pressure Levels), while condenser microphones capture more detail and a wider frequency range.
Advantages of Mono Setups:
Simplicity in setup and mixing.
Better isolation of individual instruments.
Cost-effective.
Mono mic setups are particularly useful when capturing a clear and focused sound from a specific instrument without additional spatial information. This approach is beneficial in studio recording environments where isolating each instrument is crucial for mixing. For example, when mic-ing a tambourine, a mono dynamic microphone placed close to the instrument can effectively isolate its sharp, cutting sound from other instruments, ensuring clarity and precision in the final mix.
Stereo Mic Setups

Stereo setups are ideal for larger instruments or when a more immersive and natural sound is desired. Instruments like congas, bongos, or mallet percussion benefit from stereo mic-ing, as it captures spatial nuances and adds depth to the recording. Common stereo techniques include XY, ORTF, and spaced pair configurations.
Advantages of Stereo Setups:
Enhanced spatial imaging and depth.
Captures the natural stereo field of the instrument.
Provides a richer and fuller sound.
Stereo mic setups provide a more lifelike representation of the instrument, capturing the nuances of its sound as it moves through space. This approach is especially important for recordings intended for high-fidelity playback, such as studio albums or film scores. For example, an XY stereo pair placed above a set of congas can capture the full dynamic range and tonal variety, making the recording feel more vibrant and three-dimensional.
Understanding when to use mono versus stereo setups can greatly enhance the quality of your recordings. Applying these techniques appropriately ensures that each piece of auxiliary percussion is captured with clarity and depth.
General Principles for Mic-ing Auxiliary Percussion
Direct Sound vs. Reverb: Balancing direct sound and reverb is crucial when mic-ing auxiliary percussion. Direct sound refers to the sound waves that travel directly from the instrument to the microphone, while reverb includes ambient reflections from the surrounding space. The goal is to achieve a natural and pleasing sound that suits the musical context.

Direct Sound:
Close Mic-ing: Placing the microphone close to the instrument captures more direct sound and less ambient noise. This technique is useful for isolating the instrument and adding clarity. The intensity of the direct sound decreases with the square of the distance from the source due to the inverse square law. This principle highlights the importance of microphone placement in capturing the purest and most detailed sound. The closer the microphone is to the source, the more prominent the direct sound will be in your recording, providing clarity and detail.
Microphone Choice: Use dynamic microphones for louder, punchier sounds, and condensers for detailed, nuanced recordings. Dynamic microphones handle high SPLs and capture a focused sound, while condenser microphones offer a wider frequency range and more sensitivity, making them ideal for capturing the intricate details of the instrument.
Reverb:
Room Mic-ing: Placing microphones at a distance captures the natural reverb of the room, adding depth and space to the recording. Reverb consists of all the reflections of the direct sound that occur after it hits various surfaces like walls, ceilings, and floors. These reflections bounce around the room before eventually reaching the microphone. Unlike direct sound, reverb is a collection of multiple delayed copies of the direct sound, creating a sense of space and depth in the recording. This approach is particularly effective for instruments like vibraphones and marimbas, where the natural ambiance can enhance the overall sound.
Blending Techniques: Combine close and room mics to balance direct sound and reverb. This approach provides flexibility during mixing. For instance, you can blend the clarity and focus of the close mic with the spaciousness and depth of the room mic to create a well-rounded and natural sound. Achieving the right balance between direct sound and reverb is crucial for high-quality recordings. Too much direct sound can make the recording feel too dry or isolated, while too much reverb can make it sound muddy and indistinct.
In practical terms, if you want a recording with more direct sound and less reverb, position your microphone closer to the sound source. Conversely, if you're aiming for a more spacious sound with more reverb, you can place the microphone further away or in a more reflective environment.
Practical Applications:
Room Treatment: Use sound-absorbing materials like foam panels, carpets, and curtains to reduce unwanted reflections and control reverb in your recording space. These materials increase the absorption coefficient of surfaces, thereby reducing RT60, the time it takes for the sound to decay by 60 dB after the sound source has stopped.
Microphone Placement: Experiment with different microphone distances and angles to find the optimal balance between direct sound and reverb. This involves understanding the inverse square law and how sound intensity diminishes with distance.
Recording Environment: Choose your recording environment wisely. Smaller, well-treated rooms tend to have less reverb, while larger, more reflective spaces will have more.
Practical Tips for Choosing a Microphone for Multiple Auxiliary Percussion Instruments
When recording multiple auxiliary percussion instruments, selecting a microphone that works well across various instruments is efficient and effective. Here are practical tips to help you make the best choice:
Identify Similar Spectral Characteristics:
Instruments like the triangle, sleighbells, and tambourine share similar spectral and timbral elements, often producing high-frequency, bright sounds. A microphone that accurately captures these frequencies can be used for all these instruments.
Use a High-Quality Condenser Microphone:
Condenser Microphones: Highly sensitive and capable of capturing a wide frequency range, condenser microphones are ideal for detailed and nuanced recordings. A small diaphragm condenser microphone, such as the AKG C451B or Shure SM81, is versatile and excels at capturing the brightness and clarity of high-frequency instruments.
Consider a Flat Frequency Response:
A microphone with a flat frequency response will accurately capture the natural sound of the instruments without coloring the tone. This characteristic makes it adaptable for different types of auxiliary percussion.
Utilize Adjustable Polar Patterns:
Microphones with switchable polar patterns, like the Audio-Technica AT4050, offer flexibility in recording different environments and setups. Switch between cardioid for focused sound or omnidirectional for capturing more ambient reverb.
Experiment with Placement:
Placement is key to getting the best sound, even if one microphone is used for multiple instruments. For example:
Triangle: Place the microphone about 6-12 inches away, aimed directly at the instrument to capture the bright, metallic tones.
Sleighbells: Position the microphone slightly further back, around 12-18 inches, to capture the full ensemble of bells without peaking.
Tambourine: Place the microphone around 6-12 inches from the instrument to capture both the jingles and the skin sound.
Use a Pop Filter for Percussive Sounds:
For instruments that produce strong air bursts or percussive sounds (e.g., tambourine), using a pop filter can help reduce plosives and ensure a cleaner recording.
Consider a Dynamic Microphone for Loud Instruments:
While condensers are generally preferred for their detail, a dynamic microphone like the Shure SM57 can handle higher SPLs and is robust enough for louder instruments, providing versatility in your recording toolkit.
Test and Compare:
Always test your microphone setup with different instruments before the actual recording session. This practice allows you to adjust placement and settings to achieve the best sound for each instrument.
Utilize Multiple Mics if Necessary:
If resources allow, using multiple microphones tailored to specific instruments can yield better results. However, for simplicity and efficiency, ensuring you have at least one high-quality, versatile microphone can cover a wide range of needs.
By selecting a microphone with these characteristics and applying these practical tips, you can effectively record various auxiliary percussion instruments, achieving a professional and cohesive sound across your recordings. This approach saves time and resources while ensuring each instrument’s unique sound is captured with clarity and detail.
Conclusion
Auxiliary percussion recordings should receive the same care and attention as main drums and other instruments. Whether working with hand percussion like congas and bongos, shakers and rattles, or small percussion instruments like triangles and tambourines, choosing the right microphone setup is crucial for capturing their unique sounds.
By carefully deciding between mono and stereo setups, balancing direct sound and reverb, and applying general mic-ing principles, you can achieve recordings that are clear and richly textured. Understanding the spectral characteristics of each instrument allows you to make informed decisions about microphone selection and placement, ensuring each recording session is efficient and effective.
For those recording multiple auxiliary percussion instruments, selecting a versatile microphone that can handle various spectral and timbral elements simplifies the process and ensures consistent quality. Employing practical tips, such as using condenser microphones for their detail, experimenting with placement, and considering the acoustic environment, further enhances your recordings.
Mastering these techniques will elevate the quality of your recordings, bringing out the full potential of auxiliary percussion in your music. Whether capturing the vibrant rhythms of Latin jazz, the intricate textures of orchestral pieces, or the driving beats of rock and pop, a well-mic'd auxiliary percussion setup adds depth, character, and professional polish to your productions. Embrace the creativity and precision of mic-ing auxiliary percussion, and let your recordings resonate with clarity and richness.