Lessons Learned While Building a New Music Studio or Creative Space


In February 2020, the third iteration of Tempo Productions came to fruition. In the late 1990s, I built a small project studio in my parents' basement. The primary recording mediums were a Tascam Portastudio 4-track cassette console and a Windows 2000 computer running Cakewalk. Fast forward to my college days, the studio grew from ADAT to a Mac G3 computer with a ProTools 001. I even had a full-height isolation booth for vocals and guitars. The projects mixed in that space helped me learn a lot about the recording process and how to manage people. However, when I moved out of my parents' house, adaptability and mobility were the primary focus of my recording and mixing projects. I lived in quite a few apartments where the noise was discouraged. I put my Event Ps6 monitors into storage and employed various headphone options. Laptop mixing increased as technology became more powerful. But when I moved to my current house a few years back, I have been eying the beloved basement as a possible site for a multipurpose mix and composition room. I am happy to say that it is finally finished and under budget. In the following article, I will outline my plans and thought processes for designing my new studio space.
Planning
Planning is the most crucial step in the building process. What is the room designed for? My biggest use for the room is post-production, mixing, and composition. It is not intended for drum recording. But, I have long snakes that I can run to my living room which has 20-foot vaulted ceilings for drum recordings. So, with that said, the space needs to be more neutral and less reverberant.


Overall, the design concept was to maximize floor space while controlling the acoustics to allow for a reflection-free area for mixing. The basement has an open floor plan with dated wood paneling on the walls. The heating unit, oil tank, and water filtration system are in various spots along the foundation's walls. The initial plan was to put up splayed walls to prevent standing waves around the listening "sweet spot ."But the biggest challenge was to enclose the filtration system while still allowing access for yearly maintenance. I designed a movable wall panel that I can remove to enable a contractor to access the filter and the electrical breaker box. The false wall in front of the water heating unit allowed for more floor space while isolating the filtration noise. I used 2"x4" studs and Roxul SafeNext to alter the drop ceiling to accommodate the new false wall and finally encase the entire room in staggered stud drywall construction.
Construction
The key to this studio was to try to keep mechanical noise out of the mixing space rather than deaden the sound in the room and prevent it from leaking out. It is necessary to isolate the major house appliances like the heating unit, the oil tank, and water filtration.


Construction of the studio was relatively easy. The dividing wall went from floor to ceiling. The ceiling has a supporting steel beam in the house, so I screwed the top wall plate into the beam and nailed the bottom plate into the concrete floor. Again, I used staggered stud construction and dual drywall. I hung the front and back wall soundproofing on the studs with the Owens Corning 703 sandwiched between two layers of 5/8" drywall. The result was a floating soundproof wall that did not touch the floor or the ceiling, which would help absorb any vibrations.
The flooring is a reclaimed parquet floor in 12x12 tiles. The parquet was originally in the upstairs dining room. It is tough and has held up well over time. Before putting down the squares, I had to lay down some vapor barriers and subflooring. After I completed the studio walls, I added some finishing touches. I added pine baseboard molding around the perimeter of the floor and ceiling. I also added some door sweeps to the bottom of the doors to help keep sound from leaking.
Electrical Upgrade


The studio features four different electrical outlets with their own 20 amp circuit breakers and individual ground wires. The electrician also drove in 3 new ground rods to help acoustically isolate the circuits. This technique provides electrical isolation and prevents ground looping. The four outlets are for the computer, monitor and speakers, interfaces, and other keyboard equipment.
The electrical panel is located in the basement, with easy access to the fuse and breaker boxes. The rest of the house is one ground, so technically, The studio has isolated circuits (tech power) and house power.
Acoustics
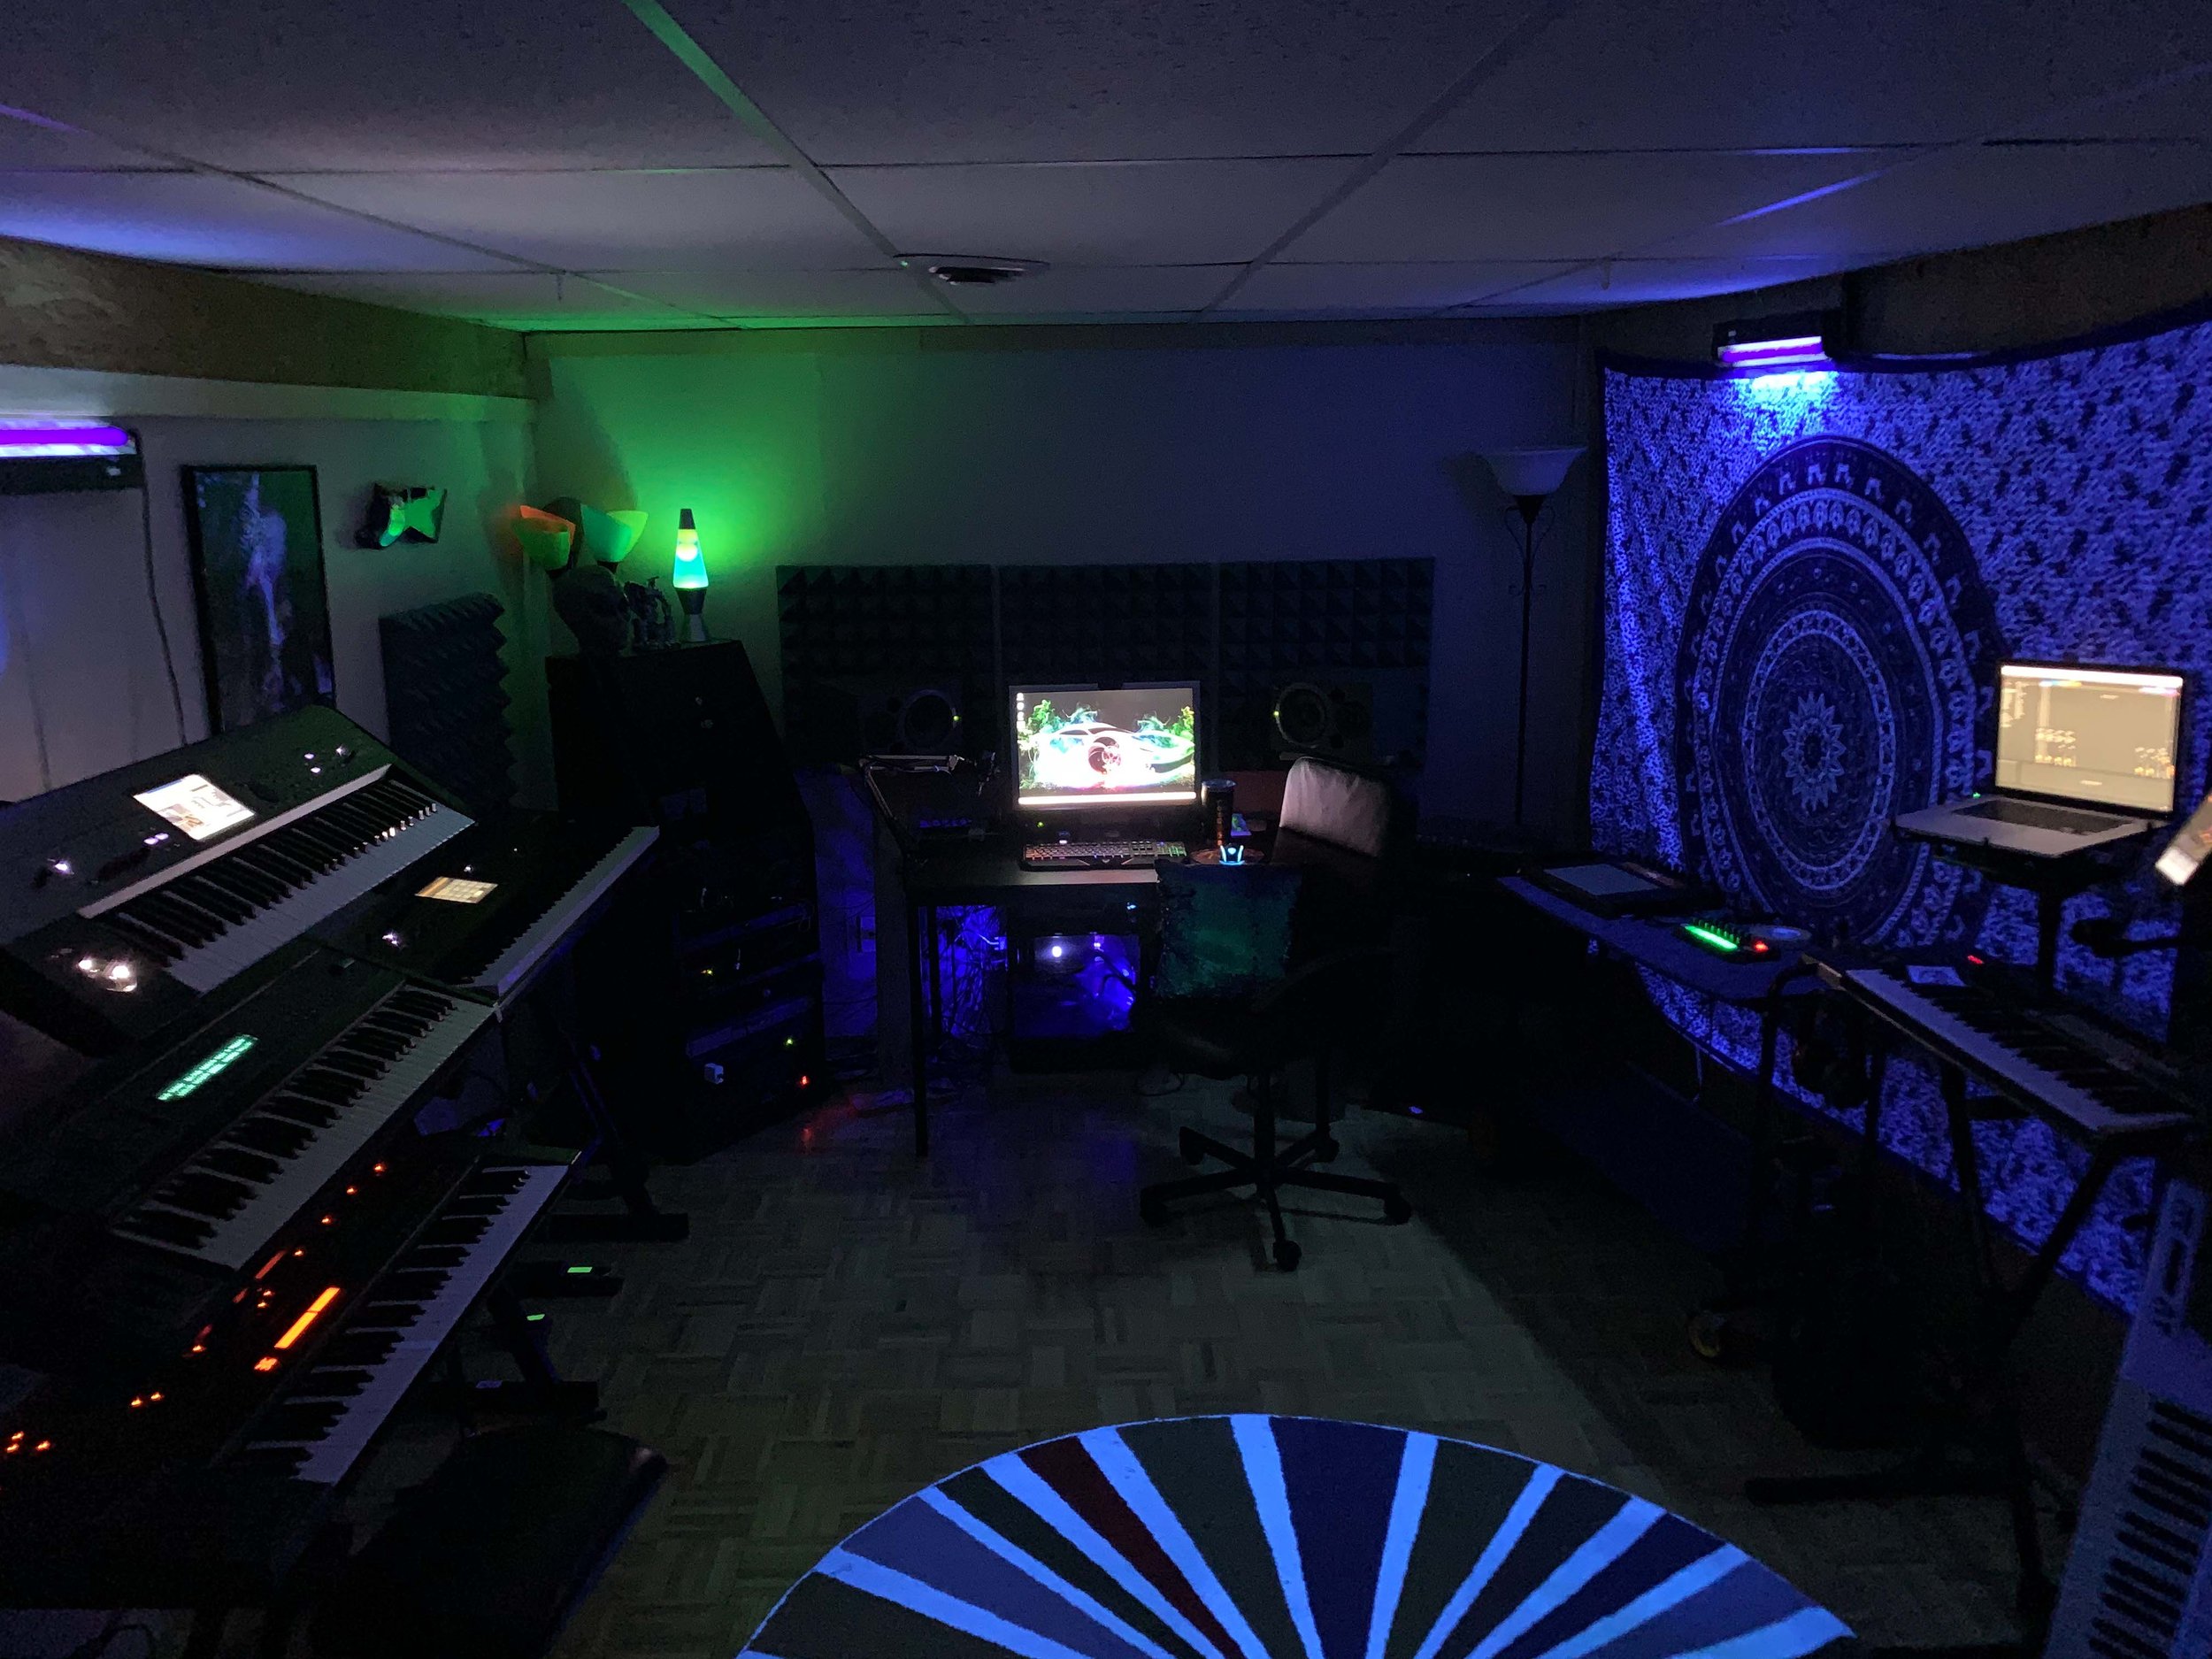
Now that the room was correctly enclosed, I began treating the walls with absorption and diffusion. On the front wall, I placed a 3" thick piece of Owens Corning 703 rigid fiberglass covered in fabric. The wall would act as my main bass trap. On the side walls, I used Auralex 2" Studiofoam. These were placed in a checkerboard pattern on the walls to scatter early reflections. I put two 4" thick fiberglass panels on the rear wall to help control lingering bass issues. Finally, I hung a set of GIK 244 Bass Traps in the corners to help with the sub-bass frequencies. The room does a good job sucking up bass frequencies and controlling room modes.
The splayed walls do an excellent job of redirecting first-order reflections away from the mix position. There is diffusion on the side walls to help break up the acoustic waves. Towards the back of the room, there are stairs and storage under the stairs that help break up waves.
The one point of failure in the studio's acoustics is the door leading out to the basement and the garage. Due to budgeting and time restraints, the door is a 5/8" thick pressed particle board door. It is fragile and hollow. The door definitely could be upgraded to a solid door, but I opted to fill it with foam insulation. Sound doesn't like going through multiple mediums. As soon as it converts from air to a solid (say, a piece of drywall), there is a loss of forward energy to go back from solid to air on the other side. The more types of layers we can make the sound go through, the more the sound will be absorbed and not continue through to the other side. I filled the door with foam, giving acoustic energy three layers to pass through: Wood, foam, and wood.
Testing
I tested with an SPL meter set to C weighting. The most significant variable I was testing for was the noise from the heating unit. Without the wall, the heating unit runs at 86dB of volume. The wall knocked down the heating unit's volume to 15 dB. I live in a relatively quiet neighborhood, so the only other noise I hear is the odd helicopter or fireworks. But even with those, the sound is barely audible in the room. I don't hear any outside noise with the door closed and music playing at moderate levels.
Lessons Learned
While I built this studio out of necessity, I learned much from my previous studio builds. In my mother's basement in the early 2000s, I made an iso booth, adding similar materials to this studio. The iso Booth taught me about small room acoustics and how to use drywall and insulation to control sound From entering a space. Later iterations of my mom's basement studio included adding partitions and other forms of insulation to isolate heating and cooling units. So this current build is a conglomeration of all that knowledge learned and professional training.
When you decide to build a recording or mix space in your house, there is a tradeoff between functionality and what can be done realistically to the space. Yes, I would have liked to build an entire floating room, but the reality was that compromises needed to be made for the studio to be functional with the whole house. The house resale value with a studio space is not as high as one might think. However, the way we partitioned the mix room in the basement might even allow for a spare bedroom or guest room in the future.
It is not necessary 2 implement complete ISO standards to have a good mix space. Basic knowledge of acoustics and how sound bounces off rooms can lead to better decision-making on where to put acoustic treatments and bass traps. There is also software out there that will help tune the room automatically. EQ plots are based upon room acoustic measurements with software such as Sonarworks.
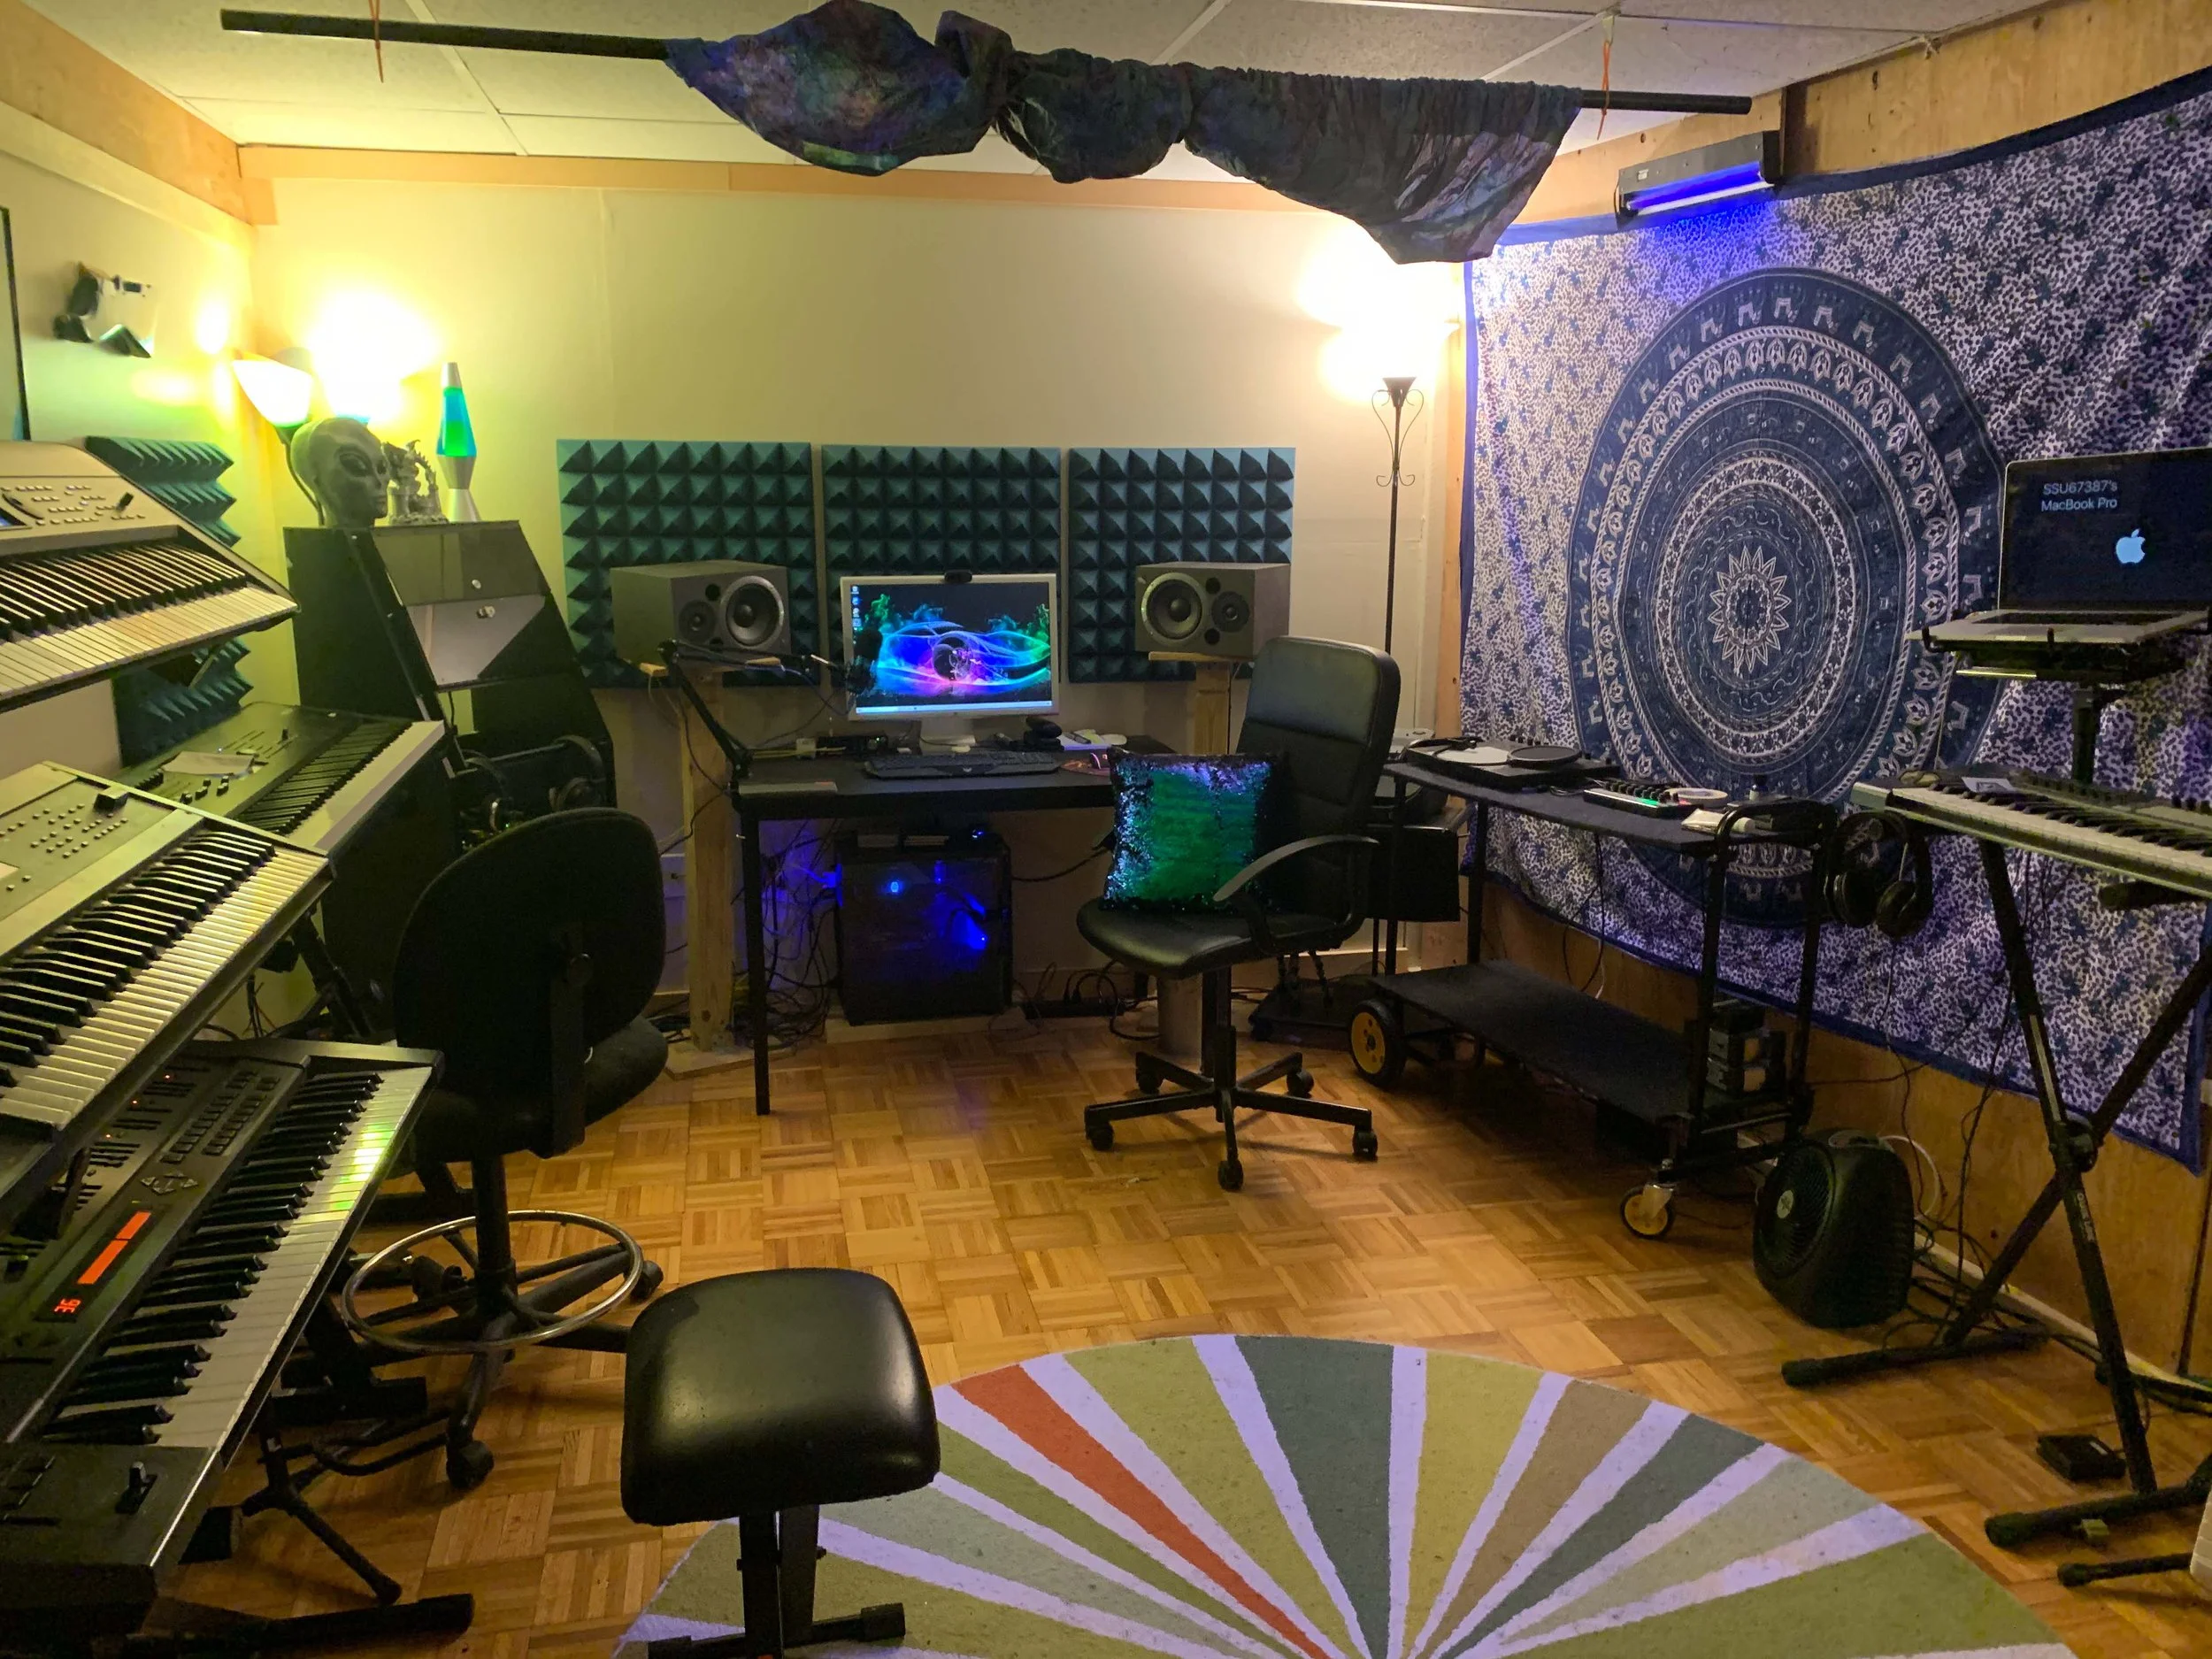


However, one of the biggest lessons is the value of ergonomics and vibe. The space is comfortable, the equipment is well within reach, and it is comfortable in both summer and winter. In the two years of using the room, I have never once had my creativity stifled by an uncomfortable environment. I would say the limiting factor of the room is that there is not enough space for creative equipment. The back wall has functioned as both storage and a TV studio. During the COVID lockdown, I taught remotely using the studio with three cameras, a green screen against the wall, and OBS software. However, the setup and take down what's training, and I often found myself leaving the TV studio portion up for weeks while neglecting the music side. But in hindsight, that was a necessity of the time.
Conclusion
So, when making a production space in your home, think about comfort and vibe first. Whether doing a studio build-out like this in your basement or commandeering a corner of your apartment, it should be comfortable, and the acoustic treatments should add to the comfort. Small room acoustics can change the room's tone a long way. So, it is unnecessary to do all the construction I did in this space (See our article on setting up a home studio). Any room can be creative and functional with a bit of ingenuity and a designer's perspective.
Dr. Mike Testa